Description
Key Facts
- Good choice for roasting, salads and making stuffed peppers.
- Very Mild
- Easy to grow.
- Takes about 2 to 3 months to grow
- Available from Amazon
Background
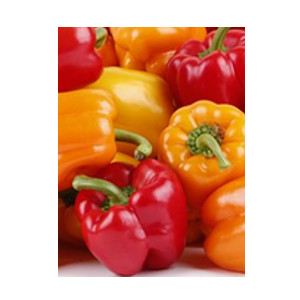
Bell peppers (also known as sweet pepper) can either be red, green, yellow, orange or black – depending on age & plant variety.
- Originally from Mexico & Central America imported into Spain as long ago as 1493 (Thank you Wikipedia)
- Very mild
- Ideal for roasting, salads and making stuffed peppers
- Days from seed to harvest – 60 to 90 (2 to 3 months)
- About 90 cm high
Example bell pepper recipes
Bell peppers are a good choice for roasting, salads and making stuffed peppers – however do note that they will have a slightly different taste based on age.
The green bell peppers tend to be the youngest and not yet fully ripened, hence they will have a lightly ‘bitter’ taste, compared to red peppers which will be sweeter (as they are ripened). The yellow one tend be in the middle taste wise, but slightly on the ‘red pepper’ spectrum.
Example recipes:
- Roasted Peppers with Garlic and Herbs (See video)
- Stuffed green peppers
- Vegan roast red pepper pasta
How to grow a bell pepper at home
The bell peppers can be grown from seed and will produce a sweet flavoured, thick fleshed bell pepper. The pepper begins as a glossy green colour however if left to mature they turn to a brilliant deep red colour
How to grow the peppers outdoors (garden, balcony, etc.)
The peppers prefer warmth & direct sunlight, well drained soil and need to be frost free.
That is why if you want to grow them outdoors then the best option is to start them indoors about 4 to 8 weeks before the last frost and then transfer them when the nights are warmer.
Growing instructions
SPECIFICATIONS – Position : Full sun, warm location, Height : 50cm, Spread : 50cm, Harvest : July – October
Sow seeds in trays or small pots. Leave at least 2 – 3 cm between each seed. Ensure enough heat is introduced to allow for good germination. To encourage strong growth, as soon as germination starts, move the seedlings to an area with good daylight exposure, a warm windowsill or warm greenhouse is ideal. At this stage they will still need warmth to develop. After 3 – 4 weeks transplant the seedlings into 5 cm pots.
Hold the seedling by its leaves to prevent any root or stem damage. With a pencil or dibber make one deep hole in the compost in each 5cm pot. Sink one seedling into each hole so that its lowest leaves are just above compost level. Firm the compost around each seedling and water well.
Ensure the newly planted seedlings have access to as much daylight as possible. Keep the seedling warm and away from cold draughts. After 10 – 14 days repot into 8 – 10 cm pots. In late April / May (depending on the temperature) plant out. Harden off over 7 – 10 days to help reduce shock.
Fully grown they can be upto 60 to 100 cm in height i.e. an individual pot might be the best option.
The Black Bell Pepper
Please note the instructions above will also work for a black bell pepper, which tends to be a different type of plant.
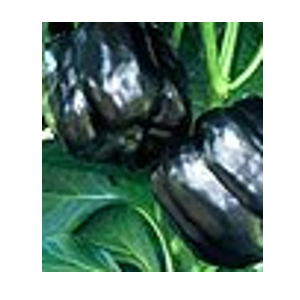
The black bell pepper is an old fashioned variety with lots classic bell shaped fruit and, as it’s name suggests, beautiful, shiny dark purple almost black colouring.
Absolutely Stunning, almost ornamental yet delicious and very productive. Easy to grow outdoors ,
These peppers are a wow and will amaze your gardening friends with their size shape and taste.
How to grow the pepper indoors (hydroponics or aquaponics)
Because of the importance of moisture and light the peppers are ideally suited for hydroponics with additional lights.
Not only are they easier to grow, but you will also get fast results.

Minze Vries –
Bell peppers are great as an ingredient, very versatile it can be used in so many options. However, fresh ones are so easily available in shops it’s only worth growing if you’ve got lots of space